

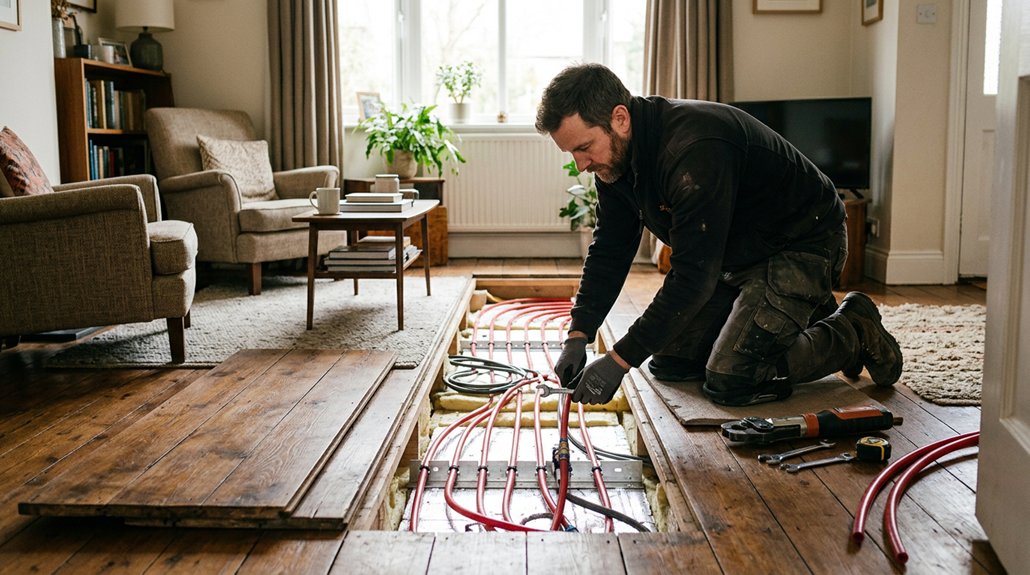
To retrofit underfloor heating successfully, match the system to your rooms’ heat loss, floor construction, and available height. Check that your boiler or heat pump can meet demand at suitable flow temperatures, then choose low-profile panels for solid floors or heat-transfer plates for suspended timber. Plan pipe routes, manifolds, and room controls around joists, thresholds, and fixed fittings. Insulate, pressure-test, balance, and commission each circuit carefully. The following guidance helps you plan each stage and avoid costly surprises.
Assess Heat Loss and Floor Construction
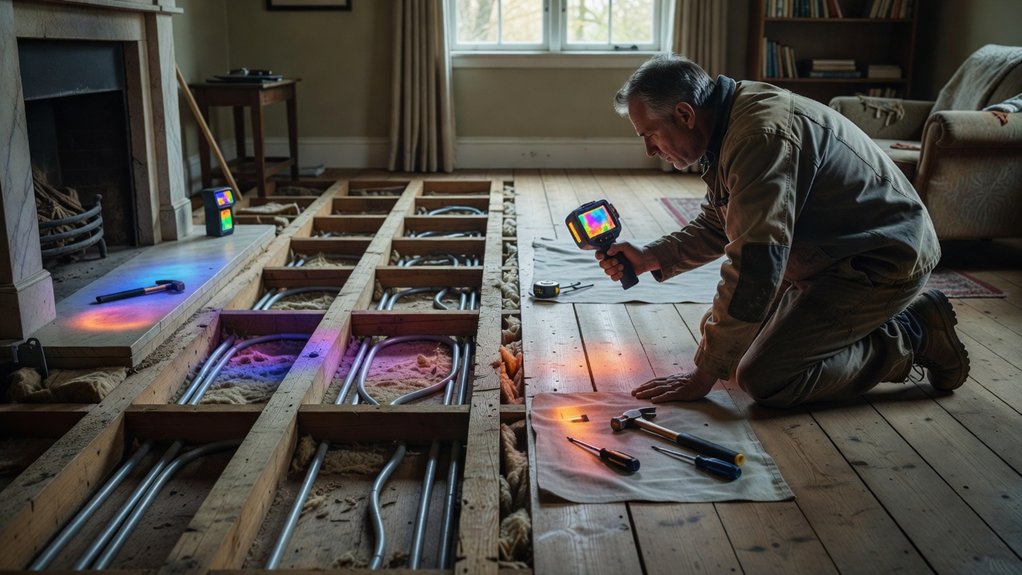
Before choosing a system, calculate the room’s heat loss and inspect how the floor is built. Measure each space, note window sizes, and identify draughts, exposed walls, and ceiling conditions. Use these details to estimate the heating demand; don’t rely on floor area alone.
Then check the existing build-up, including joist depth, slab thickness, available height, and access beneath the floor. Confirm whether Thermal insulation is present and in good condition. Add or improve insulation where practical to limit downward heat loss, especially above unheated spaces.
Identify pipes, cables, damp, and uneven areas before planning installation. Check flooring materials and their thickness, because dense finishes and underlays affect heat transfer and finished floor height.
Record findings by room so you can compare requirements and flag construction constraints before selecting a retrofit approach.
Check Heat-Source Capacity for Underfloor Heating
Check whether your boiler, heat pump, or other heat source can meet the underfloor system’s demand at the required flow temperature. Compare its available output with the calculated room-by-room heat loss, allowing for other zones that may run simultaneously. Don’t assume the existing unit has spare capacity; verify its rating, operating limits, and performance at lower temperatures.
Review controls, pumps, and hydraulic capacity, too. Underfloor heating may need a different flow rate or mixing arrangement, so confirm the source can deliver stable heat without compromising other circuits.
If capacity falls short, consider upgrading the heat source or improving the building envelope before installation. Better Thermal insulation can reduce demand, while Energy efficiency improves when the source operates within its effective range.
Have a qualified designer check calculations and commissioning requirements before you finalize the system specification.
Choose a Retrofit System for Each Floor Type
Choose the retrofit system to suit each floor’s construction, available build-up height, and heat-loss requirements.
For solid floors, use low-profile overlay panels or grooved boards that spread heat while limiting added height. Check door clearances, thresholds, and insulation below the system before installation.
For suspended timber floors, fit heat-transfer plates between or beneath joists, or install a compatible overlay above the deck. Secure the subfloor and address draughts to reduce heat loss.
Review Floor covering options before selecting panel spacing and operating temperatures. Tile and stone transfer heat efficiently; timber, vinyl, and carpet may need temperature limits or manufacturer approval.
Confirm Electrical compatibility if you’re considering electric mats, including circuit capacity, protective devices, and a suitable thermostat.
Match system output to room demand, then verify the finished floor assembly meets product specifications and local requirements.
Plan Pipe Routes, Manifolds, and Room Controls

Plan pipe routes to keep each circuit within its permitted length and avoid unnecessary bends, which can restrict flow and complicate balancing.
Map each room’s usable floor area, excluding fixed cabinets and other permanent obstructions, then choose a layout that delivers even coverage.
For effective Pipe routing, identify joist direction, door thresholds, expansion joints, and safe paths through walls before setting loop positions.
Keep flow and return connections accessible, and group circuits logically by floor or zone.
Plan manifold placement near the served rooms where you can reach it for future adjustment, while allowing space for pipe connections and controls.
Avoid locations exposed to freezing or likely to be boxed in.
Assign each circuit to a clearly labeled room thermostat, and position sensors away from drafts, direct sunlight, and heat sources.
Coordinate control wiring and manifold access with the existing layout before finalizing the design.
Install, Test, and Commission the System
Once pipe routes, manifold positions, and controls are set, install the system according to the layout and the manufacturer’s instructions. Prepare the subfloor, fit thermal insulation, and secure the heating panels or pipes without changing planned spacing. Add pipe insulation where required, especially on flow and return lines outside heated areas.
Connect each circuit to the manifold, label it, and check every joint before covering the floor.
Pressure-test the pipework at the manufacturer’s specified pressure and duration. Keep the system pressurized while you install the floor finish, and inspect for leaks or pressure loss.
Flush and balance circuits, then connect controls and verify sensor readings. Commission at a low flow temperature, increasing it gradually to protect the floor and screed. Record settings, test each zone, and show the homeowner how to operate the system.
Leave a Reply