

For a successful garage conversion, define the room’s purpose, set a complete budget with a 10–15% contingency, and measure carefully before choosing a layout. Check the slab, drainage, ceiling height, and utilities, then plan code-compliant insulation, moisture control, lighting, ventilation, and electrical capacity. Hire licensed, insured contractors, agree on responsibilities and inspection dates, and build schedule buffers. The steps ahead help you avoid costly surprises.
Check Garage Conversion Rules and Feasibility
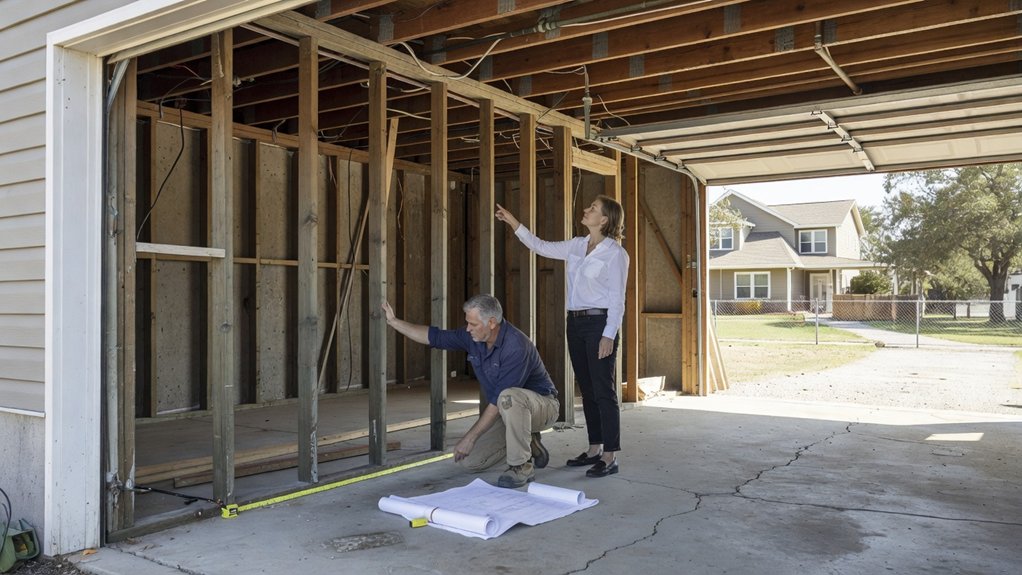
Before planning a garage conversion, check whether local rules and site conditions allow it. Contact your planning department to confirm Garage zoning requirements, permitted uses, setbacks, parking rules, and any limits on converting an attached or detached garage. Ask whether the project needs a zoning variance or design review before you proceed.
Next, verify Building permits with your local building department. Officials may require plans showing structural changes, insulation, ventilation, emergency egress, electrical work, and plumbing. Don’t assume an existing garage meets residential standards; inspectors will assess applicable codes.
Check the site for conditions that could complicate approval or construction. Look for water intrusion, slab cracks, inadequate ceiling height, poor drainage, and limited access to utilities. Have qualified professionals evaluate structural concerns and confirm that proposed work can meet code.
Resolve these constraints before committing to construction.
Set Your Garage Conversion Goals and Budget
Once you’ve confirmed the project is feasible, define how you’ll use the converted space and what you can spend. Set measurable goals, such as creating a quiet office, a guest room, or a workshop with reliable power. Identify essential performance requirements, including insulation, ventilation, lighting, and sound control. Rank these needs against optional upgrades so you can protect the project’s core function if costs rise.
Establish a total budget that includes design fees, permits, labor, materials, utility upgrades, and a contingency of at least 10 to 15 percent. Get itemized estimates and verify what each quote excludes.
Prioritize durable finishes and storage optimization without compromising access to services or safety. Treat design aesthetics as a budget consideration: choose finishes that suit your home, then price them before approving the scope. Track commitments against your budget throughout construction.
Choose a Layout for Your Garage Conversion
Start with the room’s main function, then map the layout around how you’ll use it. For a home office, position the desk where you can work comfortably and keep the entry clear. For a guest suite, define a sleeping zone and preserve a direct path to the door. Measure the garage, including door swings, posts, and existing openings, before placing furniture or partitions.
Keep circulation practical: allow clear walkways, accessible storage, and enough space to move larger items. Use Garage storage solutions such as wall-mounted shelving or cabinets to reclaim floor area without obstructing access. Group related activities together, and place frequently used items within easy reach.
Compare aesthetic design options only after the functional plan works. Mark proposed zones with tape, then test movement and furniture clearances before finalizing the layout. Don’t block required exits.
Plan Insulation, Flooring, Lighting, and Utilities
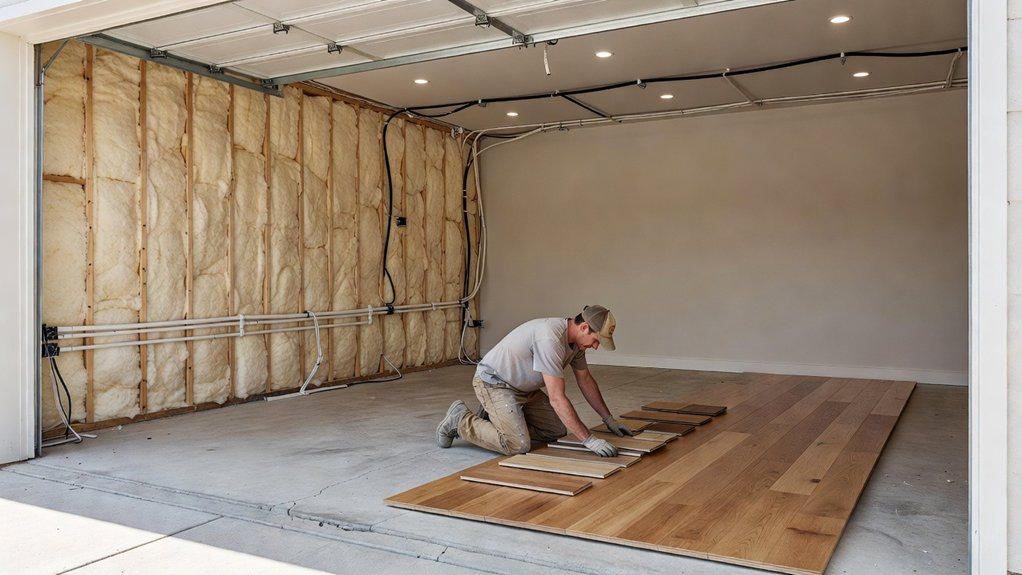
Plan insulation, flooring, lighting, and utilities together so each system fits the room’s intended use and local code. Check your local energy requirements, then specify thermal insulation for walls, the ceiling, and any exposed slab edges. Seal air leaks and install a continuous vapor control layer where climate and code require it.
Compare flooring options against moisture, comfort, and load needs. Test the slab for dampness before adding a finish; use a compatible moisture barrier or raised subfloor when needed. Confirm finished floor height won’t obstruct doors.
Map lighting for task areas and general use, and place switches where you’ll enter. Have an electrician size circuits for planned equipment and verify safe wiring.
Extend plumbing, heating, cooling, and ventilation only where the layout requires them, preserving access for maintenance.
Choose Contractors and Prevent Costly Delays
With the room’s systems defined, choose contractors who’ve completed permitted garage conversions and can coordinate the work. Verify contractor credentials, including licensing, insurance, references, and experience with local inspections. Ask who’ll manage subcontractors and communicate schedule changes. Before signing, confirm the scope, materials, payment milestones, and change-order process in writing.
Map the sequence with your contractor: structural work, rough-in utilities, inspections, insulation, drywall, and finishes. Confirm who’ll obtain construction permits and schedule each inspection; missed approvals can halt work and trigger rework. Order long-lead items early, and verify delivery dates before setting installation milestones.
Keep a shared schedule that identifies dependencies, responsible parties, and decision deadlines. Respond promptly to requests for selections or approvals so crews don’t wait. Review progress weekly, document issues, and agree on corrective actions immediately. Build realistic time buffers for inspections, weather, and back-ordered materials.
Leave a Reply