


Build an outdoor kitchen that moves you from grill to prep counter to serving area without backtracking. Keep the work aisle clear, place the refrigerator near prep space, and add task lighting over cooking zones. Have licensed professionals install and test gas, electrical, and water lines to local codes. Choose outdoor-rated appliances, corrosion-resistant cabinetry, and weather-tough counters suited to your climate. Add ventilated, weatherproof storage, and you’ll have a patio designed for reliable use through the seasons. The details below show how.
Plan Your Outdoor Kitchen Layout
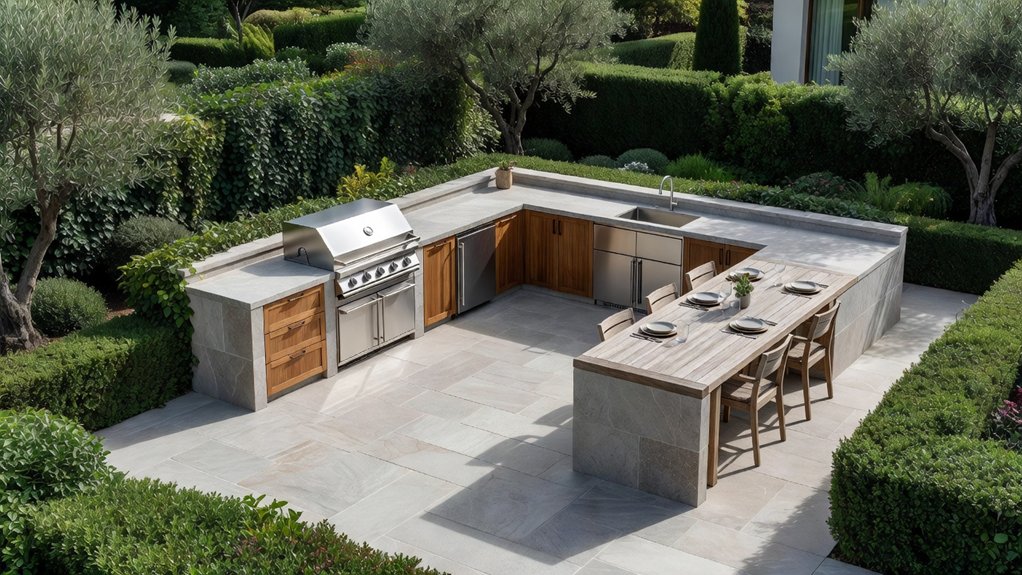
Start by mapping your outdoor kitchen around how you’ll cook and move through the space. Place the grill, prep counter, and serving area in a sequence that limits backtracking. Keep the primary work aisle wide enough for two people to pass, and position frequently used tools within easy reach.
Locate the refrigerator near the prep surface, but keep its door from blocking traffic when open. Choose durable, level flooring and leave clear access to every appliance for maintenance.
Add task lighting above counters and cooking zones; use Garden lighting to illuminate paths, steps, and the dining area without glare.
Plan Seating arrangements beyond the main work aisle, so guests can gather without crowding the cook. Check sightlines, shade, and prevailing wind before fixing the final layout.
Plan Safe Gas, Electrical, and Water Lines
Before finalizing the layout, map gas, electrical, and water routes to each appliance and fixture. Keep lines accessible for inspection, but separate them from hot surfaces, sharp edges, and one another where codes require.
For Gas safety, have a licensed professional size and install the supply, add an accessible shutoff valve, and test every connection for leaks before use. Don’t route gas beneath enclosed spaces without approved ventilation.
Use outdoor-rated, weather-resistant wiring and GFCI protection for receptacles near water. Confirm electrical grounding and bonding meet local code, and place outlets where cords won’t cross walkways or cooking zones.
Have a qualified electrician calculate circuit loads for appliances.
Plan water lines with shutoffs, suitable fittings, and drainage that prevents standing water. Check local permits and utility requirements before trenching, then label routes for future service.
Choose Durable Outdoor-Kitchen Materials
Choose materials by matching each surface to its exposure, load, and maintenance needs. For countertops, consider granite or porcelain, which resist heat, stains, and moisture when properly installed. Seal natural stone as its manufacturer recommends, and inspect it regularly for wear.
For cabinet frames, use marine-grade polymer, stainless steel, or masonry to limit corrosion, swelling, and rot. Select stainless fasteners rated for outdoor exposure; incompatible metals can accelerate corrosion.
Your climate should guide every choice. Freeze-thaw cycles, salt air, intense sun, and standing water each demand specific weather resistance. Check product specifications for UV stability, water absorption, and temperature tolerance rather than relying on appearance alone.
Match finishes and joints to expected movement, and provide drainage so water can’t collect. These details support material longevity, reduce maintenance, and help your kitchen withstand seasonal exposure.
Choose Appliances Built for Outdoor Use
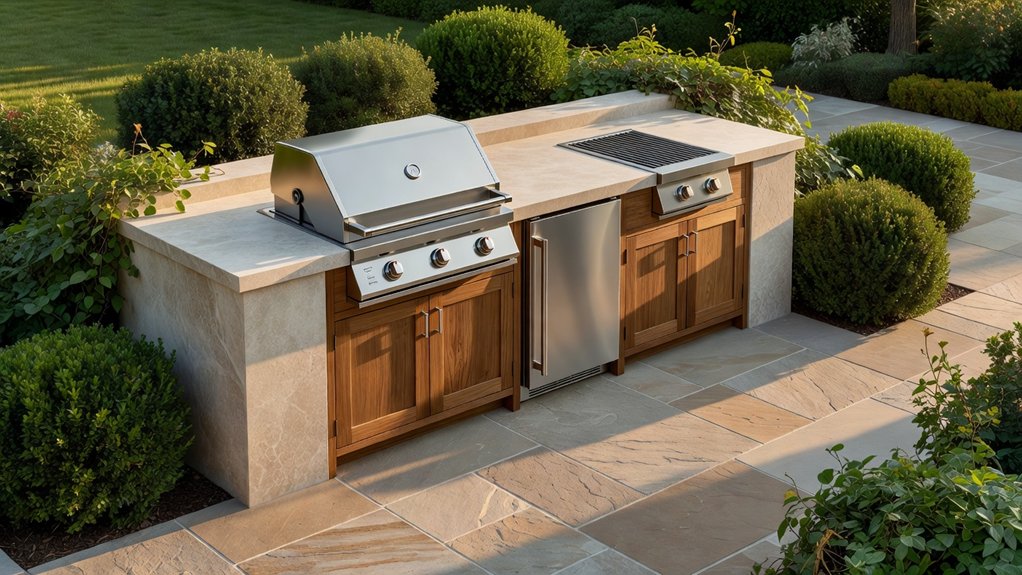
Outdoor appliances must withstand weather while meeting the demands of regular cooking. Choose a grill, refrigerator, or side burner specifically rated for outdoor installation; indoor models can fail when exposed to humidity and temperature swings. Compare Outdoor appliance brands by checking warranty coverage, service availability, and replacement-part access, not just cooking capacity.
Look for weather resistant features such as corrosion-resistant stainless steel, sealed electrical components, and durable exterior finishes. Match each appliance’s fuel and power requirements to your planned connections, and confirm clearances around hot surfaces meet manufacturer specifications.
If you live near the coast, prioritize materials and coatings designed to resist salt exposure. Check ventilation requirements for built-in units before finalizing the layout. Your installer should verify gas pressure, electrical protection, and drainage needs, then test every appliance under operating conditions.
These checks help you avoid premature failures and keep cooking performance dependable through changing seasons.
Add Outdoor-Kitchen Storage and Finishing Touches
Once the appliances are in place, add storage that keeps tools and supplies accessible without exposing them to weather. Choose marine-grade stainless-steel drawers, sealed cabinets, or powder-coated units rated for outdoor use.
Position frequently used utensils near the grill, and store cleaning products separately from food and serving items.
Check that doors and drawers clear appliance handles and open fully without blocking walkways.
Add adjustable shelves or dividers to organize cookware, fuel accessories, and linens.
Include ventilation where manufacturers require it, and keep stored items above ground to limit moisture exposure.
Finish with decorative accents that withstand sun, rain, and temperature changes, such as UV-stable planters or corrosion-resistant hardware.
Coordinate finishes with counters and fixtures, but prioritize durable materials.
These storage solutions keep your kitchen orderly, functional, and ready for regular use.
Leave a Reply